Fermenting food might sound like a task for mad scientists or artisanal chefs, but it’s an age-old technique that anyone can master. Rooted in tradition and brimming with benefits, fermentation transforms humble vegetables and fruits into tangy, flavorful treasures. Whether you’re looking for ways to use up all that cabbage in your CSA box or wanting to improve your gut health, fermentation is a sustainable way to make the most of seasonal produce.
What makes fermenting so fascinating is its simplicity. With a bit of salt and time, you can turn cucumbers into pickles, cabbage into sauerkraut, or even carrots into a zesty snack. Not only is fermentation an excellent way to preserve the vibrant flavors of local produce, but it also unlocks a world of health benefits. Let’s dive into the bubbling, fizzing world of fermentation and learn how to get started.
Lacto fermentation is a natural process where lactic acid bacteria (LAB) convert sugars in food into lactic acid. This creates a tangy, probiotic-rich environment that preserves the produce and enhances its flavor. Unlike other preservation methods, lacto fermentation doesn’t rely on heat or chemicals, keeping the food’s nutrients intact.
There are lots of perks to fermenting your produce, including;
While both methods preserve food, lacto fermentation relies on natural bacteria and salt, while pickling uses an acidic vinegar brine. Lacto-fermented foods are probiotic-rich, whereas pickled foods are not. The natural fermentation process creates lactic acid, which lends fermented foods their characteristic tang and fosters beneficial microbes. In contrast, vinegar pickling is a quicker method that doesn’t require the same careful monitoring but sacrifices the probiotic benefits of lacto fermentation. Both methods are valuable, but fermentation offers a unique combination of preservation and health benefits.
Yes! When done correctly, fermentation is safe. The lactic acid bacteria naturally lower the pH of the food to create an acidic environment that is hostile to harmful pathogens, such as botulism and e Coli. By ensuring proper hygiene, using the right salt ratios, and keeping the produce submerged in brine, you create a system that prevents spoilage. Regularly checking your ferment and understanding the process will help ensure your success.
Start with the freshest, highest-quality fruits and vegetables you can find that have been recently picked and are free from any spoilage. But, the produce doesn’t have to be pretty. This is a great way to use up all of those wonky carrots and misshaped chilis.
Generally speaking, the ideal ratio is around 2% salt by weight. This ratio works well for most vegetable, including cabbage, beets, carrots, radishes, and green beans. However, the lower the salt content, the less crunch your produce will retain. For things like cucumbers, onions, squash, and chilis (where you want that crunch), it recommended to use a higher salt concentration (3-4%). A higher salt concentration will result in a slower fermentation, so keep that in mind.
Speaking of salt, you’ll also want to decide between a dry salt or brine method. Dry salting is where you massage the salt into produce that will then release its own natural juices to create a brine. This technique works well with high moisture produce or ones that have been shredded or grated, such as cabbage or grated carrots and radishes. The brine method is best for lower moisture produce or items that will be left whole or cut into large chunks, like cucumbers, tomatoes, and chilis. These won’t release their own juices to make a brine, so you’ll need to mix the salt with some non-chlorinated water to create the brine.
Produce must stay under the brine to prevent mold. Use weights to keep everything submerged. If you don’t have enough brine to keep the produce submerged, you can make some more using the proper ratios listed above.
Store your ferment away from air and light at temperatures between 60°F and 75°F. Once fermented to your liking, move it to the fridge to slow down the process.
Fermentation vessels are essential for containing your fermenting produce. You have a few different options, based on the size of batches you’re planning to make.
Mason jars are perfect for small batches and chances are you already have some in your house. Using mason jars is ideal if you're new to fermenting; they require little money investment and allow you to make smaller batches to test out recipes you haven't used before. If you're going the mason jar route, you may want to pick up some fermentation lids and glass weights (see below).
If you’re fermenting in mason jars, using special lids with air locks is highly recommended, as these allow carbon dioxide to escape while keeping oxygen out. This setup helps to maintain a stable, anaerobic environment crucial for successful fermentation. Similarly, glass weights ensure that all the produce remains submerged beneath the brine, reducing the risk of mold growth.
If you aren't using a special fermentation lid, then you can use the 2 piece lids that come with the mason jars, however, you will need to be diligent about opening the lid slightly every day to allow the built up gases to escape. Otherwise, your jars may just explode on you.

If you're more familiar with fermentation and want to make larger batches than what a mason jar can hold, it might be worthwhile to invest in a ceramic fermentation crock. You’ll typically find these in whole or half gallon sizes, though there are pint and quart sizes available. Many of these come with a large wooden pestle to use when bruising high-moisture produce like cabbage to create the brine, as well as stone weights to keep your produce submerged. They also have special water seal lids that will help keep air out of the crock while also allowing C02 to escape.
For larger-scale projects, fermentation buckets are an excellent option, accommodating massive quantities of vegetables. These are the same types of buckets that are often used in home beer and wine making, so you can easily find them at your local beer brewing store. You'll want to make sure that they are food grade plastic and come with an airlock in the lid to let the fermentation gasses escape while keeping air out.
Accurate salt measurements are critical in fermentation, so a digital scale is an invaluable tool. Non-iodized salt is another must-have, as iodine can inhibit the fermentation process. Beginners might also benefit from pH test strips, which help confirm that the pH of your ferment is safely below 4.6, ensuring the food’s safety and stability.

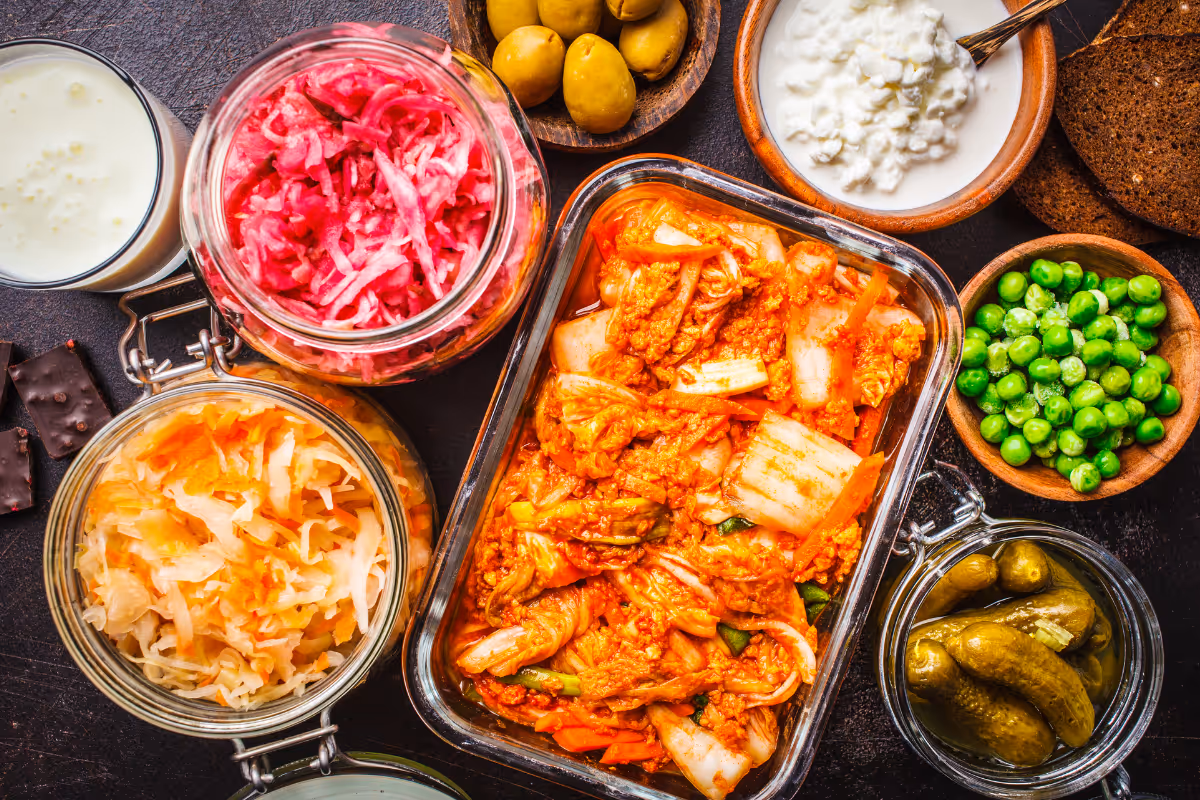
When it comes to vegetables, cabbage reigns supreme, forming the base of classics like sauerkraut and kimchi. Cucumbers, carrots, radishes, and green beans also ferment beautifully, providing crunch and a tangy flavor. Other root vegetables, such as beets and turnips, bring vibrant colors and earthy tones to your ferments.
Fruits can be a bit trickier to ferment but are worth the effort. Apples and pears take well to lacto fermentation, developing a sweet and tangy profile perfect for salads or cheese platters. Stone fruits like plums and cherries can also be fermented, offering a bold and unique twist on their usual flavors. Pair them with spices like cinnamon or star anise for an added depth of flavor.
Use the freshest produce available, ideally picked within 24-48 hours of starting your ferment. Thoroughly wash the produce. For leafy greens, roots, and stems, chop into uniform pieces for even fermentation. For things like peppers and tomatoes that will be fermented whole, use a small knife to pierce each one to help the brine seep in and prevent the produce from floating to the top.
Weigh your produce using a digital scale and calculate the appropriate salt concentration. For example, if you’re making sauerkraut and you have 900 grams of shredded cabbage, multiply 900 by 0.02 (or 2%) to get your salt total (18 grams).
If you’re using the brined method, then you’ll want to weigh out both the produce *and* the water to calculate your salt. To do this, you’ll want to first place your fermentation vessel onto the scale and tare it out. Then, pack your produce into the vessel and add enough water to fully cover it. Then, make note of the weight. Weigh out your salt and add it into the container.
Use weights to keep produce submerged under the brine. If necessary, add extra brine to ensure complete coverage. Your brine should have the same ratio of salt as listed above.
Check daily to ensure everything stays submerged and there’s no mold. During the first few days, you’ll notice bubbling as the fermentation process takes off—this is a sign that the lactic acid bacteria are hard at work. Taste test periodically to decide when it’s done to your liking. Properly fermented food will have a tangy, sour flavor with no off odors.
Once fermentation is complete, transfer your ferment to the fridge, where it can be stored for months. Refrigerated storage preserves the probiotics that make fermented foods so beneficial. If you prefer a shelf-stable product, you can use a hot water bath canning process, but be aware that heat from canning destroys most of the probiotics. Choose your storage method based on whether you prioritize convenience or the health benefits of probiotics.